Simplified Proxmox VE 8 Installation on Debian 12 Bookworm
Proxmox VE is a comprehensive, open-source server management platform that seamlessly integrates KVM hypervisor and LXC containers. Today, we present a streamlined process for installing Proxmox VE 8 on Debian 12 Bookworm, based on the official guidance from the Proxmox VE Installation Guide.
Prerequisites
- A fresh Debian 12 Bookworm installation.
- A user with sudo privileges.
- Internet connectivity.
Installation Scripts
We’ve divided the installation into two scripts. The first script prepares your system and installs the Proxmox VE kernel. The second script continues the process after a system reboot, installing the remaining Proxmox VE packages.
Remember, all these commands need to be executed from the root user level, so:
|
1 |
# sudo su - |
First Part: System Preparation and Kernel Installation
Start by downloading the first script which prepares your system and installs the Proxmox VE kernel:
|
1 2 |
# wget https://soban.pl/bash/install-proxmox-part1.sh # chmod +x install-proxmox-part1.sh |
Run the script with the following command:
|
1 |
# ./install-proxmox-part1.sh |
Here is the content of the script:
|
1 2 3 4 5 6 7 8 9 10 11 12 13 14 15 16 17 18 19 20 21 22 23 24 25 26 27 28 29 30 31 32 33 34 35 36 37 38 39 40 41 42 43 44 45 46 47 48 49 50 51 52 53 54 55 56 57 58 59 60 61 62 63 64 65 66 67 68 69 |
#!/bin/bash # The script is an integral part of the article available at (part 1/2) # https://soban.pl/simplified-proxmox-ve-8-installation-on-debian-12-bookworm/ # Introduction message echo "Starting the setup for Proxmox VE installation on Debian Bookworm..." # Display available network interfaces and their IP addresses echo "Available network interfaces and IP addresses:" ip -br -c a # Retrieve the current hostname CURRENT_HOSTNAME=$(hostname) # Retrieve the current IP address CURRENT_IP_ADDRESS=$(hostname -I | awk '{print $1}') # Set up hostname echo "Please enter the hostname for your Proxmox server (Press Enter to keep current: $CURRENT_HOSTNAME):" read HOSTNAME if [ -z "$HOSTNAME" ]; then HOSTNAME=$CURRENT_HOSTNAME fi # Set up IP address echo "Based on the list above, please enter the IP address for your Proxmox server (Press Enter to keep current: $CURRENT_IP_ADDRESS):" read IPADDRESS if [ -z "$IPADDRESS" ]; then IPADDRESS=$CURRENT_IP_ADDRESS fi hostnamectl set-hostname "$HOSTNAME" # Backup and configure /etc/hosts cp /etc/hosts /etc/hosts.backup cat <<EOF > /etc/hosts 127.0.0.1 localhost $IPADDRESS $HOSTNAME # The following lines are desirable for IPv6 capable hosts ::1 localhost ip6-localhost ip6-loopback ff02::1 ip6-allnodes ff02::2 ip6-allrouters EOF # Backup existing sources.list and prepare Proxmox VE repository cp /etc/apt/sources.list /etc/apt/sources.list.backup echo "deb [arch=amd64] http://download.proxmox.com/debian/pve bookworm pve-no-subscription" > /etc/apt/sources.list.d/pve-install-repo.list # Add the Proxmox VE repository key wget https://enterprise.proxmox.com/debian/proxmox-release-bookworm.gpg -O /etc/apt/trusted.gpg.d/proxmox-release-bookworm.gpg echo "Verifying the GPG key..." sha512sum /etc/apt/trusted.gpg.d/proxmox-release-bookworm.gpg | grep '7da6fe34168adc6e479327ba517796d4702fa2f8b4f0a9833f5ea6e6b48f6507a6da403a274fe201595edc86a84463d50383d07f64bdde2e3658108db7d6dc87' if [ $? -ne 0 ]; then echo "GPG key verification failed. Aborting." exit 1 fi # Update and upgrade the system apt update && apt full-upgrade -y # Install the Proxmox VE kernel apt install proxmox-default-kernel -y # Install Proxmox VE and other necessary packages apt install proxmox-ve postfix open-iscsi chrony -y echo "Kernel installation completed. The system will now reboot. After rebooting, continue with the second part of the script." reboot |
After running the first script, your system will reboot. At this stage, you may encounter a few dialogs from the system, which are part of the normal package configuration steps. For this simplified installation, you can accept the default options by pressing Enter.
Screenshots during Installation
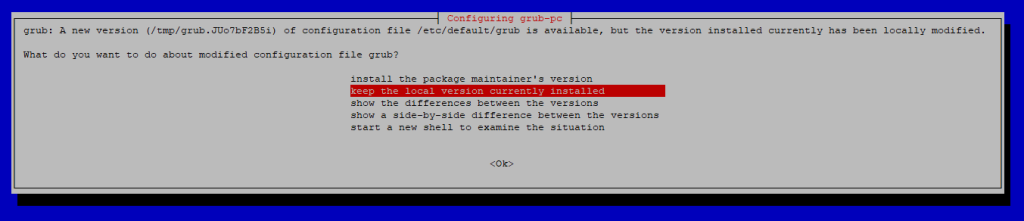
GRUB Configuration – A new version of the GRUB bootloader configuration file is available. It’s recommended to keep the local version currently installed unless you are aware of the changes. As with the previous dialogs, pressing Enter will select the default action.
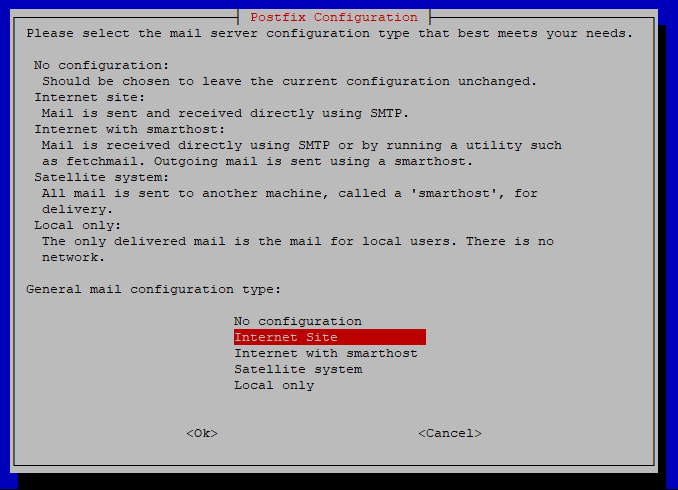
Postfix Configuration – This dialog appears when installing the postfix package, which is a mail transport agent. The default option “Internet Site” is suitable for most cases. Pressing Enter accepts this configuration.
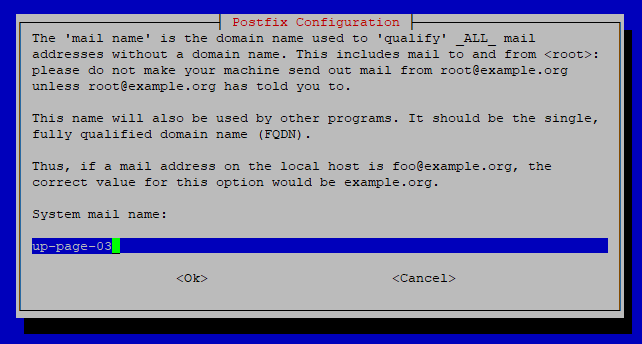
System Mail Name – Here you specify the FQDN (Fully Qualified Domain Name) for the system mail. The default value is usually adequate unless you have a specific domain name for your server. Again, pressing Enter will continue with the default configuration.
There might be issues encountered towards the end of the first script installation, such as:
|
1 2 3 4 5 |
Errors were encountered while processing: ifupdown2 pve-manager proxmox-ve E: Sub-process /usr/bin/dpkg returned an error code (1) |
However, the second part of the script, executed after the reboot, addresses these problems.
After a successful reboot of the machine, log into the system and proceed to the second script.
Second Part: Completing Proxmox VE Installation
After your system has rebooted, proceed with downloading the second script:
|
1 2 |
# wget https://soban.pl/bash/install-proxmox-part2.sh # chmod +x install-proxmox-part2.sh |
Execute the second part of the installation with the command:
|
1 |
# ./install-proxmox-part2.sh |
This is the content of the second script:
|
1 2 3 4 5 6 7 8 9 10 11 12 13 14 15 16 17 18 19 20 21 22 23 24 25 26 |
#!/bin/bash # The script is an integral part of the article available at (part 2/2) # https://soban.pl/simplified-proxmox-ve-8-installation-on-debian-12-bookworm/ # Introduction message echo "Continuing Proxmox VE installation after reboot..." # Install upgrade apt upgrade -y # Optional: Remove the Debian default kernel apt remove linux-image-amd64 'linux-image-6.1*' -y update-grub # Optionally remove the os-prober package apt remove os-prober -y # Clean up installation repository entry rm /etc/apt/sources.list.d/pve-install-repo.list # Retrieve the server's IP address for the Proxmox web interface link IP_ADDRESS=$(hostname -I | awk '{print $1}') echo "Proxmox VE installation completed." echo "You can now connect to the Proxmox VE web interface using:" echo "https://$IP_ADDRESS:8006" echo "Please log in using the 'root' username and your root password." |
Once the second script completes, you will be able to access the Proxmox VE web interface using the URL displayed at the script’s conclusion. Log in with the ‘root’ username and your root password.
Upon loading the page, you may encounter a certificate trust error – this is normal at this stage, and you can safely accept that it is unsafe and proceed to access the page for managing Proxmox. If you don’t know the root password, you can reset it by executing ‘passwd‘ as root. Good luck!