Netdiscover is a popular network discovery tool that is used in Linux to identify live hosts on a network. It sends ARP (Address Resolution Protocol) requests to the network and then listens for replies from active hosts. By analyzing the replies, Netdiscover can build a list of all hosts that are currently active on the network.
Netdiscover is typically used by network administrators to identify all devices on a network and to detect any unauthorized devices that may be connected. It can also be used to identify the IP address of a device on a network that is not responding to conventional network scanning techniques.
Netdiscover is a command-line tool and has a range of options that allow it to be customized for specific network environments. For example, it can be set to scan a particular subnet or to use a specific network interface. Additionally, Netdiscover can output its results in a range of formats, including CSV and XML, making it easy to integrate with other tools and applications.
Overall, Netdiscover is a useful tool for network administrators who need to identify all devices on a network and detect any unauthorized devices that may be connected. Its ability to output results in a range of formats and its customizable options make it a versatile and valuable addition to any network security toolkit.
Netdiscover is a great tool to scan your local network for locally attached devices. It is installed by default in Kali Linux. However, if you want to use it on a raspberry pi, you need to install it. You can do this as follows:
|
1 |
# apt install netdiscover |
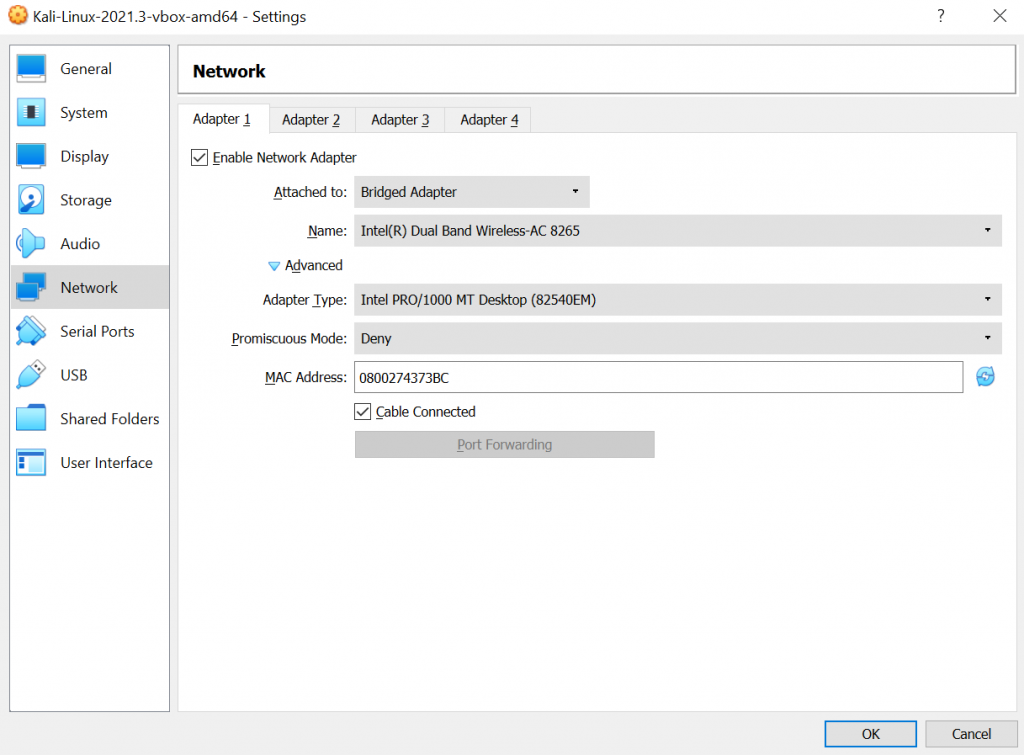
In virtualbox I have this setup of network in Kali Linux:
The very use of the tool requires specifying the subnetwork in which we are located. We can check it like this:
|
1 |
# ifconfig |
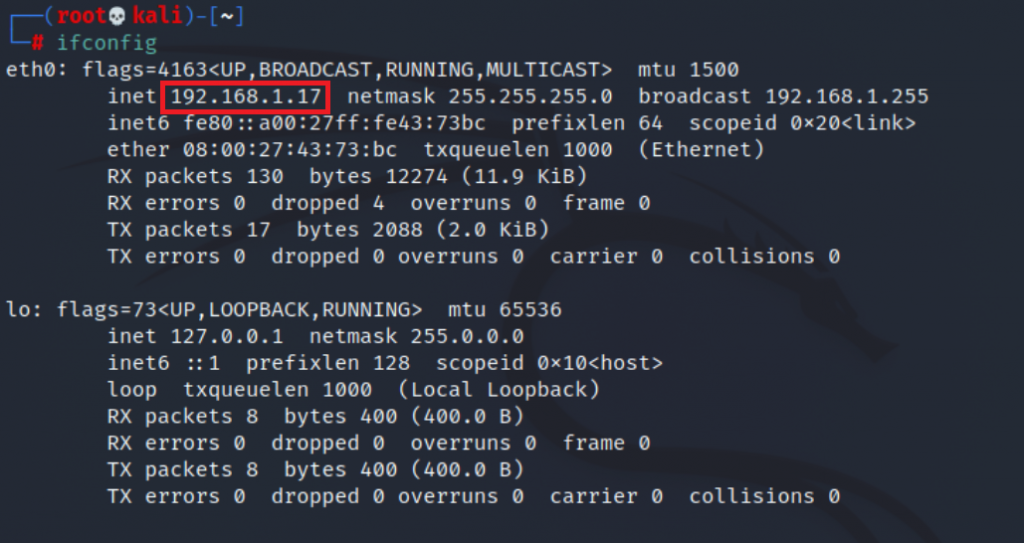
In this case, we can scan network 192.168.1.0/24, so in netdiscover we can use:
|
1 |
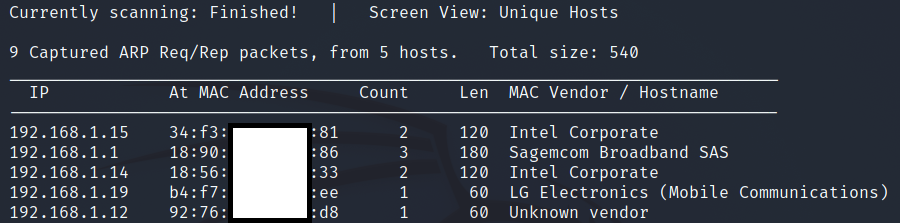
# netdiscover -r 192.168.1.0/24 |
The screen will show the network scanner:
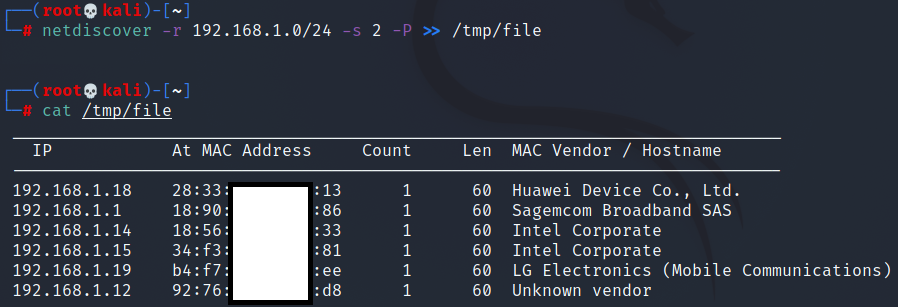
Netdiscover also gives you the option to direct the result to a file, in this case it refreshes the scan every 2 seconds:
|
1 |
# netdiscover -r 192.168.1.0/24 -s 2 -P >> /tmp/file |
Now we can also use nslookup to get hostname:
|
1 |
$ cat /tmp/file | grep '192\.' | grep -v Screen | cut -c1-14 | sort -u | nslookup | grep name | cut -f 2 | cut -c8- |

Also we can use nmap:
|
1 |
# nmap `cat /tmp/file | grep '192\.' | grep -v Screen | cut -c2-34 | sort -u | awk '{ print $1 }' | tr '\n' ' '` |
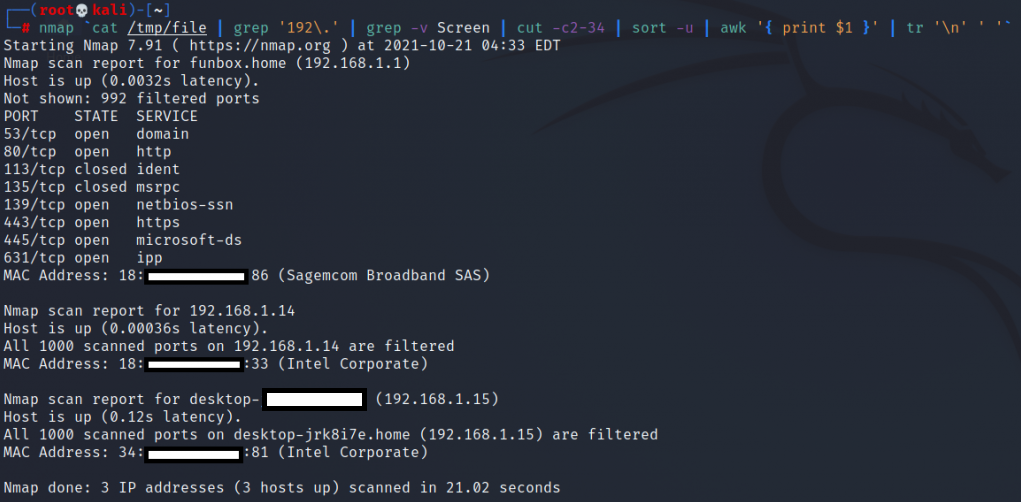
You can use more parameters in nmap for more information, however this will significantly increase the scan time. Still, sometimes it’s worth the wait.