In a situation where we have one public IP address and we have many domains directed to that IP address, it is worth considering spreading the traffic to other servers. Proxmox, which allows you to create a pair of virtual machines, is perfect in such a situation. In my case, each virtual machine is separated and the traffic is broken down by nginx, which distributes the traffic to other servers. The virtual machine on my website will redirect traffic, I have the IP address for wordpress: 10.10.11.105 on port 80. In this case, no encryption is required, but the frontend itself, which manages the traffic, will present itself with encryption and security on port 443.
Two machines with the following configuration will participate throughout the process:
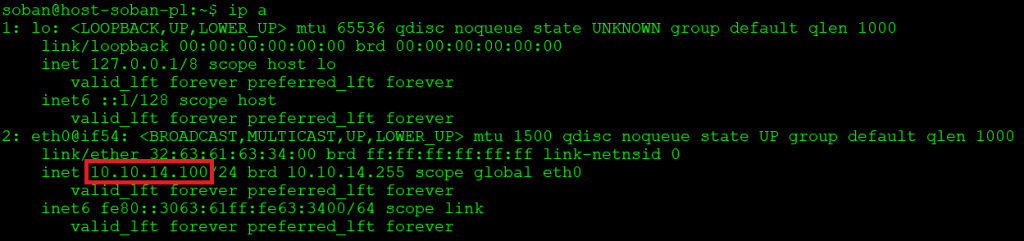
up-page IP: 10.10.14.200
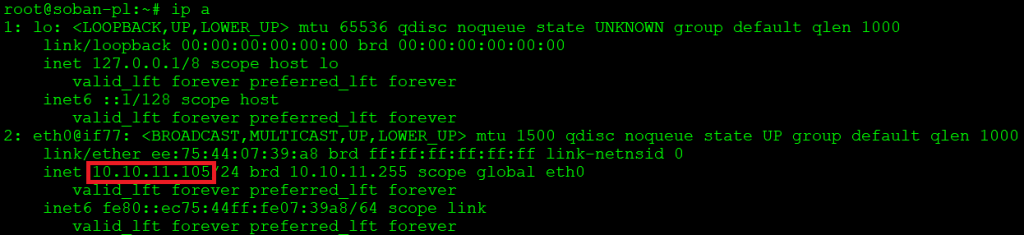
soban-pl IP: 10.10.11.105
So let’s move on to the frontend that distributes traffic to other machines.
The frontend is done by linux debian 11 (bullseye), in addition, I have the following entry in the repository (/etc/apt/sources.list):
|
1 2 3 |
#... deb http://nginx.org/packages/debian/ bullseye nginx deb-src http://nginx.org/packages/debian/ bullseye nginx |
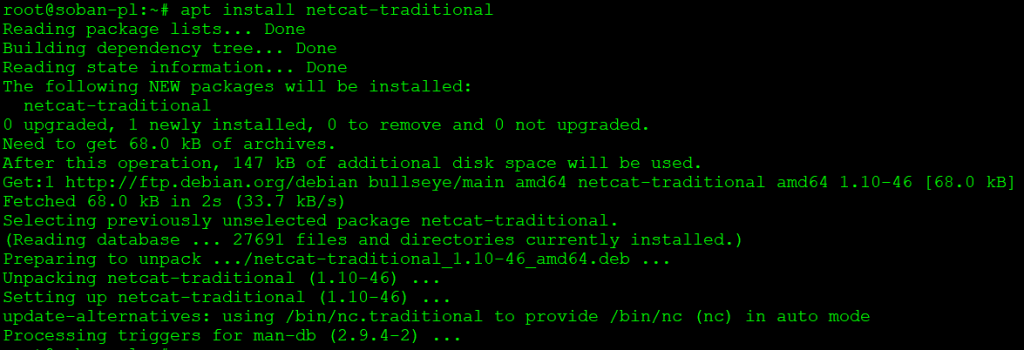
To install nginx, run the following commands:
|
1 2 |
# apt update # apt install nginx |
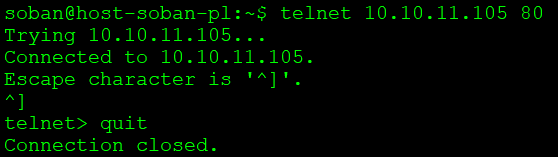
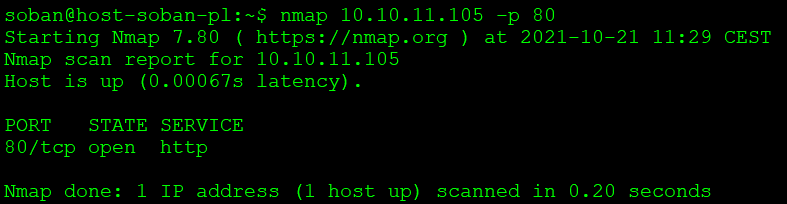
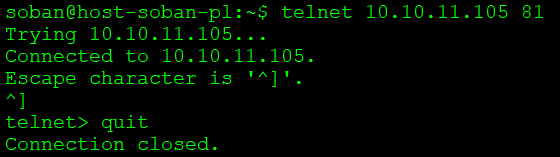
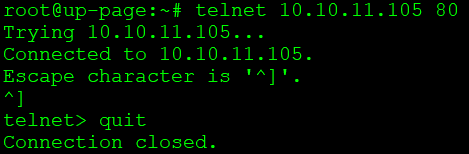
You should make sure that the traffic from the frontend has the appropriate port 80 transitions. You can read how to check the network transitions here: Check network connection and open TCP port via netcat.
The configuration of the frontend that distributes the traffic is as follows (/etc/nginx/conf.d/soban.pl.ssl.conf):
|
1 2 3 4 5 6 7 8 9 10 11 12 13 14 15 16 17 18 19 20 21 22 23 24 25 26 27 28 29 30 31 32 33 34 35 36 37 38 39 40 41 42 43 44 45 46 47 48 49 50 51 52 53 54 55 56 57 58 59 60 61 62 63 64 65 66 67 68 69 70 71 72 73 74 75 76 77 78 79 |
upstream soban-pl-webservers { server 10.10.11.105:80; } server { if ($host = www.soban.pl) { return 301 https://$host$request_uri; } # managed by Certbot if ($host = soban.pl) { return 301 https://$host$request_uri; } # managed by Certbot listen 80; server_name soban.pl www.soban.pl; return 301 https://soban.pl$request_uri; } server { listen 443 ssl http2; server_name www.soban.pl; ssl_certificate /etc/letsencrypt/live/www.soban.pl/fullchain.pem; # managed by Certbot ssl_certificate_key /etc/letsencrypt/live/www.soban.pl/privkey.pem; # managed by Certbot ssl_protocols TLSv1.2 TLSv1.3; ssl_prefer_server_ciphers on; ssl_ciphers ECDHE-ECDSA-AES128-GCM-SHA256:ECDHE-RSA-AES128-GCM-SHA256:ECDHE-ECDSA-AES256-GCM-SHA384:ECDHE-RSA-AES256-GCM-SHA384:ECDHE-ECDSA-CHACHA20-POLY1305:ECDHE-RSA-CHACHA20-POLY1305:DHE-RSA-AES128-GCM-SHA256:DHE-RSA-AES256-GCM-SHA384; return 301 https://soban.pl$request_uri; } server { listen 443 ssl http2; server_name soban.pl _; ssl_certificate /etc/letsencrypt/live/soban.pl/fullchain.pem; # managed by Certbot ssl_certificate_key /etc/letsencrypt/live/soban.pl/privkey.pem; # managed by Certbot ssl_protocols TLSv1.2 TLSv1.3; ssl_prefer_server_ciphers on; ssl_ciphers ECDHE-ECDSA-AES128-GCM-SHA256:ECDHE-RSA-AES128-GCM-SHA256:ECDHE-ECDSA-AES256-GCM-SHA384:ECDHE-RSA-AES256-GCM-SHA384:ECDHE-ECDSA-CHACHA20-POLY1305:ECDHE-RSA-CHACHA20-POLY1305:DHE-RSA-AES128-GCM-SHA256:DHE-RSA-AES256-GCM-SHA384; } location / { access_log /var/log/nginx/access-soban.pl.log; error_log /var/log/nginx/error-soban.pl.log; proxy_pass http://soban-pl-webservers; proxy_redirect https://soban-pl-webservers http://soban-pl-webservers; expires off; proxy_read_timeout 3500; proxy_connect_timeout 3250; proxy_set_header X-Real-IP $remote_addr; proxy_set_header Host $host; proxy_set_header X-Forwarded-For $proxy_add_x_forwarded_for; proxy_set_header X-Forwarded-Proto https; proxy_set_header SSL_PROTOCOL $ssl_protocol; proxy_set_header SSL_CLIENT_CERT $ssl_client_cert; proxy_set_header SSL_CLIENT_VERIFY $ssl_client_verify; proxy_set_header SSL_SERVER_S_DN $ssl_client_s_dn; proxy_set_header X-Scheme $scheme; proxy_ssl_session_reuse off; proxy_http_version 1.1; proxy_set_header Upgrade $http_upgrade; proxy_set_header Connection "upgrade"; } location ~ ^/(wp-admin|wp-login\.php) { auth_basic "Restricted"; auth_basic_user_file /etc/nginx/conf.d/htpasswd; proxy_pass http://soban-pl-webservers; proxy_redirect https://soban-pl-webservers http://soban-pl-webservers; expires off; proxy_next_upstream error timeout invalid_header http_500 http_502 http_503; proxy_set_header Host $host; proxy_set_header X-Real-IP $remote_addr; proxy_set_header X-Forwarded-For $proxy_add_x_forwarded_for; } } |
Configuration of the above-mentioned wordpress, additional authorization is also set when you try to log in to wp-admin, you can read about it here: More security wp-admin in nginx.
In the next step, check if the nginx configuration is correct by:
|
1 |
# service nginx configtest |

If everything is fine, restart nginx:
|
1 |
# service nginx restart |
In a virtual machine with nginx it should also be installed. This is the same as debian linux 11 (bullseye), so the respository should look like this:
|
1 2 3 |
#... deb http://nginx.org/packages/debian/ bullseye nginx deb-src http://nginx.org/packages/debian/ bullseye nginx |
Just installing nginx looks the same as on a machine that acts as a proxy.
|
1 2 |
# apt update # apt install nginx |
All configuration is in /etc/nginx/conf.d/soban.pl.conf:
|
1 2 3 4 5 6 7 8 9 10 11 12 13 14 15 16 17 18 19 20 21 22 23 24 25 26 27 28 29 30 31 32 33 34 35 36 37 38 39 40 41 42 43 44 45 46 47 48 49 50 51 52 53 54 55 56 57 |
server { listen 80; client_max_body_size 20M; server_name soban.pl www.soban.pl; access_log /var/log/nginx/access-soban.pl.log; #access logi error_log /var/log/nginx/error-soban.log; # error logi port_in_redirect off; set_real_ip_from 10.10.11.105; real_ip_header X-Forwarded-For; real_ip_recursive on; root /home/produkcja/wordpress/; index index.html index.php; if ($host ~* ^www\.(.*)) { set $host_without_www $1; rewrite ^/(.*)$ $scheme://$host_without_www/$1 permanent; } error_page 404 /index.php; location ~ \.php$ { root /home/produkcja/wordpress/; # dir where is wordpress fastcgi_split_path_info ^(.+\.php)(/.+)$; fastcgi_pass unix:/var/run/php/php-fpm.sock; fastcgi_index index.php; include fastcgi_params; fastcgi_param SCRIPT_FILENAME $document_root$fastcgi_script_name; } location / { try_files $uri $uri/ /index.php?$args; } location = /sitemap.xml { rewrite ^/sitemap(-+([a-zA-Z0-9_-]+))?\.xml$ "/index.php?xml_sitemap=params=$2" last; rewrite ^/sitemap(-+([a-zA-Z0-9_-]+))?\.xml\.gz$ "/index.php?xml_sitemap=params=$2;zip=true" last; rewrite ^/sitemap(-+([a-zA-Z0-9_-]+))?\.html$ "/index.php?xml_sitemap=params=$2;html=true" last; rewrite ^/sitemap(-+([a-zA-Z0-9_-]+))?\.html.gz$ "/index.php?xml_sitemap=params=$2;html=true;zip=true" last; } location = /favicon.ico { return 204; access_log off; log_not_found off; } location ~* \.(jpg|jpeg|png|gif|ico|css|js)$ { expires 365d; }location ~* \.(pdf)$ { expires 30d; } } |
Also in this case, check the correctness of the nginx service configuration:
|
1 |
# service nginx configtest |

Everything looks fine, so let’s move on to restarting the service:
|
1 |
# service nginx restart |

If the whole configuration was done correctly, the page should be directed without encrypted traffic to the virtual machine with wordpress. A wordpress service with nginx is not the only one that can be hosted or proxied. We can direct traffic from nginx to e.g. jboss, apacha and all other web services. Of course, this requires a corresponding modification of the configuration presented above, but the general outline of the concept as an nginx proxy has been presented. You should also remember about the appropriate configuration of keys and certificates. In my case let’s encrypt works perfectly for this.