Fail2Ban Nginx Setup – Block Scanners and Exploits Without Blocking WordPress Admin
This guide shows a complete Fail2Ban installation and configuration for Nginx, designed to:
- block real scanners and exploit attempts (e.g. requests to
/.env,/.git,/phpmyadmin, etc.), - avoid blocking administrators by accident (common issue when banning only by HTTP errors),
- ban IP addresses after repeated suspicious activity,
- use a short ban time (5 minutes) to reduce the risk of locking yourself out.
Why banning by HTTP errors alone can backfire
Many guides suggest banning by HTTP status codes (4xx/499) only. In real life this often causes self-bans, because modern apps generate bursts of requests (AJAX, admin panels, cache rebuilds), and you can hit error statuses during normal work.
This setup uses a safer approach:
- exploit paths are always suspicious,
- HTTP errors are counted only when the request has no Referer (typical for scanners),
- known bad User-Agents are counted.
Step 1: Install Fail2Ban
Install Fail2Ban:
|
1 2 |
apt update apt install -y fail2ban |
Enable and start the service:
|
1 2 |
systemctl enable fail2ban systemctl start fail2ban |
Verify that it is running:
|
1 2 |
fail2ban-client ping systemctl status fail2ban |
Step 2: Create the nginx-secure filter
Create the filter file:
|
1 |
nano /etc/fail2ban/filter.d/nginx-secure.conf |
Paste the following configuration:
|
1 2 3 4 5 6 7 8 9 10 11 12 13 |
[Definition] failregex = # exploit paths ^<HOST> - .* "(?:GET|POST|HEAD|PUT|DELETE|OPTIONS|PATCH|PROPFIND|CONNECT) (?:/\.env|/wp-config\.php|/phpinfo\.php|/(?:phpmyadmin|adminer)(?:/|$)|/(?:\.git|\.svn|\.hg)(?:/|$)|/vendor/phpunit/|/cgi-bin/).*" \d{3} .* # errors without referer (real scanners) ^<HOST> - .* "(?:GET|POST|HEAD|PUT|DELETE|OPTIONS|PATCH|PROPFIND|CONNECT) [^"]*" (?:400|403|404|405|408|413|414|429|444) [^"]* "-" ".*" # bad user agents ^<HOST> - .* "(?:GET|POST|HEAD|PUT|DELETE|OPTIONS|PATCH|PROPFIND|CONNECT).*" \d{3} .* "(?:[^"]*)" "(?:[^"]*(?:sqlmap|nikto|masscan|zgrab|nmap|acunetix|wpscan|dirbuster|gobuster)[^"]*)" ignoreregex = |
Step 3: Create the nginx-secure jail
Create the jail configuration file:
|
1 |
nano /etc/fail2ban/jail.d/nginx-secure.conf |
Paste the following configuration:
|
1 2 3 4 5 6 7 8 9 10 11 12 13 14 15 |
[nginx-secure] enabled = true port = http,https filter = nginx-secure logpath = /var/log/nginx/access.log /var/log/nginx/access-*.log findtime = 600 maxretry = 20 bantime = 300 action = iptables-multiport[name=nginx-secure, port="http,https"] ignoreip = 127.0.0.1/8 ::1 |
Step 4: Restart Fail2Ban
|
1 2 |
fail2ban-server -t systemctl restart fail2ban |
Step 5: Verify firewall integration
Check that the Fail2Ban chain exists:
|
1 2 |
iptables -S | grep f2b-nginx-secure iptables -L f2b-nginx-secure -n -v |
External test
Run from another machine (exploit path test):
|
1 2 3 |
for i in 1 2 3 4 5; do curl -I https://soban.pl/.env done |
Test “errors without Referer” logic (scanner-like request – no referer header):
|
1 2 3 |
for i in 1 2 3 4 5; do curl -sS -o /dev/null -w "%{http_code}\n" https://soban.pl/this-path-should-not-exist-$i done |
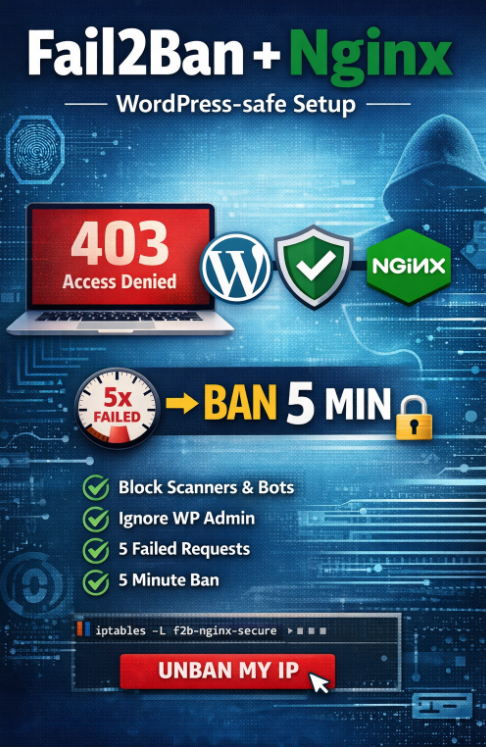
After repeated suspicious requests, the IP address will be banned for 5 minutes.
Check banned IPs
|
1 |
fail2ban-client status nginx-secure |
Unban IP address
Unban an IP manually:
|
1 |
fail2ban-client set nginx-secure unbanip YOUR_IP |
Summary
- blocks exploit paths and real scanners,
- reduces self-bans by counting HTTP errors only when the Referer is missing,
- uses a short 5-minute ban duration,
- works with iptables-nft,
- easy to test and easy to unban IP addresses.