Dell WD19/WD19S: firmware update on Proxmox/Debian without USB timeouts (fwupd + autosuspend fix)
If you’re trying to update the firmware of a Dell WD19/WD19S docking station on Proxmox (or Debian) using fwupdmgr, you may hit the classic Operation timed out error during the Erasing… stage. In practice, the update fails due to USB power management (autosuspend). Below you’ll find a simple, effective fix and a ready-to-run script you can use on a server or laptop.
Symptoms
Most commonly, during a dock firmware update (WD19/WD19S), you’ll see an error similar to:
|
1 |
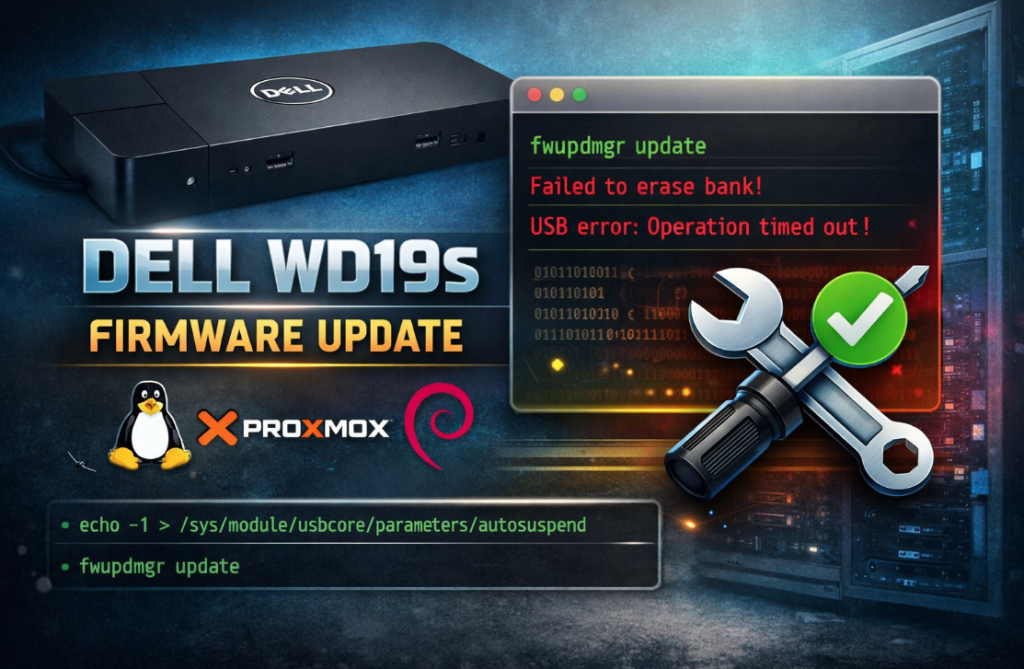
failed to write-firmware: failed to erase bank: failed after 5 retries: failed to SetReport: USB error: Operation timed out [-7] |
At this point, fwupdmgr may show the WD19S device as Update State: Failed or keep reporting pending activation, but the flash process never completes.
Why does this happen?
During flashing, the dock performs long-running operations. If the system tries to save power on USB (autosuspend), control transfers can fail. The result is a timeout exactly during the flash bank erase stage (erase bank).
Quick fix: disable USB autosuspend during the update
The simplest solution is to temporarily set autosuspend to -1 (disabled). This setting lasts until reboot (unless you make it permanent in the kernel cmdline), but it’s more than enough for the update process.
|
1 |
echo -1 > /sys/module/usbcore/parameters/autosuspend |
Then run the firmware update:
|
1 2 |
fwupdmgr refresh --force fwupdmgr update |
After the update: “pending activation” and unplug requirement
After a successful firmware installation for WD19/WD19S, fwupdmgr often prints the following message:
|
1 2 |
The update will continue when the device USB cable has been unplugged. WD19S is pending activation; use fwupdmgr activate to complete the update. |
Do the following in this exact order:
- Unplug the USB-C cable from the dock (from the laptop).
- (Optional) Unplug the dock power for 10–15 seconds and plug it back in.
- Plug the USB-C cable back in.
- Run the activation step:
|
1 |
fwupdmgr activate |
Finally, verify the status:
|
1 2 |
fwupdmgr get-updates fwupdmgr get-devices | less |
Ready-to-use script: install + update + autosuspend disable (with restore)
Below is a ready-to-run script that:
- installs
fwupd - refreshes LVFS metadata
- temporarily disables USB autosuspend (so WD19S won’t fail with timeouts)
- runs firmware updates
- restores the previous autosuspend value afterwards (even if the update fails)
You can copy the script directly from this article, but if you prefer a faster way, you can download it from:
https://soban.pl/bash/dell_updage.sh
Example download and run:
|
1 2 3 4 |
cd /root/scripts curl -fsSL https://soban.pl/bash/dell_updage.sh -o dell_updage.sh chmod +x dell_updage.sh ./dell_updage.sh |
If you want to preview the script before running it:
|
1 |
curl -fsSL https://soban.pl/bash/dell_updage.sh | less |
If you don’t have less installed:
|
1 2 |
apt update apt install -y less |
Script (full content)
|
1 2 3 4 5 6 7 8 9 10 11 12 13 14 15 16 17 18 19 20 21 22 23 24 25 26 27 28 29 30 31 32 33 34 35 36 37 38 39 40 41 42 43 44 45 46 47 48 49 50 51 52 53 54 55 56 57 58 59 60 61 62 |
#!/bin/bash set -euo pipefail # dell upgrade: # - installs fwupd # - refreshes metadata # - runs fwupdmgr update # - TEMPORARILY disables USB autosuspend to avoid WD19/WD19S timeouts # - restores autosuspend setting after update echo "[INFO] Installing fwupd..." apt update apt install -y fwupd echo "[INFO] Refreshing firmware metadata..." fwupdmgr refresh --force fwupdmgr get-updates || true # Save current autosuspend value (if exists) AUTOSUSPEND_PATH="/sys/module/usbcore/parameters/autosuspend" OLD_AUTOSUSPEND="" if [[ -f "$AUTOSUSPEND_PATH" ]]; then OLD_AUTOSUSPEND="$(cat "$AUTOSUSPEND_PATH" || true)" echo "[INFO] Current usbcore autosuspend: ${OLD_AUTOSUSPEND}" else echo "[WARN] autosuspend sysfs file not found: $AUTOSUSPEND_PATH" fi restore_autosuspend() { if [[ -f "$AUTOSUSPEND_PATH" && -n "${OLD_AUTOSUSPEND}" ]]; then echo "[INFO] Restoring usbcore autosuspend back to: ${OLD_AUTOSUSPEND}" echo "${OLD_AUTOSUSPEND}" > "$AUTOSUSPEND_PATH" || true fi } trap restore_autosuspend EXIT # Disable autosuspend to prevent USB timeout during dock firmware erase/write if [[ -f "$AUTOSUSPEND_PATH" ]]; then echo "[INFO] Disabling USB autosuspend (set to -1) to avoid dock update timeouts..." echo -1 > "$AUTOSUSPEND_PATH" fi read -p "Do you want to update the entire device? (y/n): " answer if [[ "$answer" == "y" || "$answer" == "Y" ]]; then echo "[INFO] Running fwupdmgr update..." fwupdmgr update || { echo "[ERROR] fwupdmgr update failed." echo "[HINT] If this is Dell dock (WD19/WD19S), try: unplug USB-C, replug, then run: fwupdmgr activate" exit 1 } echo "[INFO] Update finished." echo "[INFO] If you updated a Dell dock and it says 'pending activation':" echo " 1) Unplug USB-C cable from the dock" echo " 2) (Optional) Unplug dock power for 10 seconds, plug back" echo " 3) Run: fwupdmgr activate" else echo "[INFO] Skipping firmware update." fi echo "[INFO] Done." |
Running the script
The simplest way:
|
1 2 |
chmod +x dell_updage.sh ./dell_updage.sh |
FAQ & tips
- The update still fails? Disconnect all peripherals from the dock (monitors/LAN/USB), leave only power and USB-C, do a hard reset of the dock (unplug power for 30s), and try again.
- “pending activation” after update – this is normal for WD19/WD19S. You must unplug USB-C, plug it back in, then run
fwupdmgr activate. - Does this update the laptop BIOS? Not always.
fwupdmgrshows “System Firmware” (BIOS/UEFI) separately from the dock. This article focuses on the dock and the USB timeout issue.
Summary
If Dell WD19/WD19S firmware updates fail on Proxmox/Debian during the Erasing… stage, in most cases it’s enough to disable USB autosuspend temporarily. The script above does that automatically and restores the previous setting afterwards, so your system keeps working normally.